
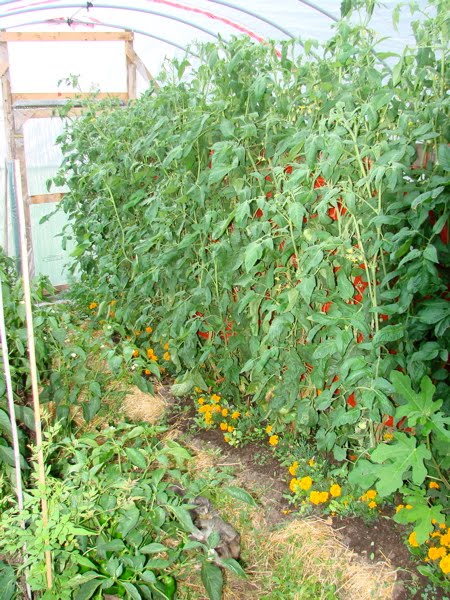
Do you want your heat-loving veggies to look like this?
We built a hoophouse last year (2009) based on information from Eliot Coleman's "Four Season Harvest" and videos from the University of Utah.
Using scrap obtained from construction, some free plastic from a friend who does contracting, and $160 in plastic pipes, I spent a whopping $200 for this huge hoophouse. It withstood gale-force winds, driving rainstorms, and the ravages of two kittens and two kids romping around in it.
By August, I was harvesting the only ripe tomatoes of anyone I have talked to (it was a wicked cold summer to get ripe tomatoes!). The peppers I grow in the garden are usually 12" high with one stunted pepper. This year? They were nearly three FEET high and averaged 16 peppers a plant! I was able to make my mother-in-law's incredible Ivar, a succulent roasted red pepper spread, that lasted until Christmas. Okay, little admission of guilt. I hid one jar so we could have it at Christmas. The Ivar freaks cleaned the rest out by November!
I am sorry I did not take more detailed photos as we built the house. But if you would like to try something on a smaller or similar scale, here was my progress.
Our hoophouse was 18' wide by 25' long. An old fenced-in dog run that's never been used was a perpetual weed-bed since the lawnmower didn't fit through the gate. I was more than pleased that this solution was so incredibly productive and delectable!
A standard hoophouse is about 4' wide and as long as you want to make it. Your materials will include 24" rebar spikes, about 1/2" diameter, 10' PVC pipes, 1-1/2" diameter or whatever you can bend easily; and either construction or greenhouse grade plastic. You will also need long lengths of water resistant string, some lumber and screws.

Hoophouse Base
A simple base of 2"x6" boards, dug into the ground a few inches, gives some shape to your foundation. On the outside of the boards, pound the 24" rebar stakes into the ground so that 8-10" sticks out. Slip your PVC pipe onto the the rebar, flex it, and slip onto the spike on the opposite side. Do spikes every four feet. Because our house was unusually high, we did it every three feet for more stability.

Hoophouse Frame
Here is the finished frame. To keep the ribs stable, a pipe is run along the top and lashed in place with strips of inner tube. We got that free from our local mechanic.

Hoophouse Tarp
For the first time out, I used our free poly-tarp and fastened the eight-foot wide strips together with Tuck Tape. It actually held up for two whole months of wind and heat before the tape started a slow slide and left me with open gaps in mid-July. This year we spend a little money and buy a full-size tarp from the local farm co-op.

Frame with plastic secured on top.
How do you keep that plastic from billowing in the wind like a giant sail? Tie a lenght of twine to the rebar at the base. Throw it over the rib and plastic, and tie it off on the opposite rib. Works like a charm! We used plastic twine left over from the horses' winter hay.

End of hoophouse Frame
This was the most work involved, because two holes had to be dug to anchor the posts. For a smaller hoophouse, you can actually just bind the plastic together like you would a trash bag, but we needed a stable anchor for our strong winds.

End of frame showing how plastic wraps around to be secured.
This was VERY frustrating, because I could not find details on what to do ANYWHERE! I wound up bringing the plastic around the top of the rib and down to my 2" x 4" support. Then I pulled it under the bottom of the 2" x 4" and anchored it by using a thin strip of wood. The end of the plastic was wrapped around the wood strip until it was even with the support board, and screwed into the support board. We actually got the plastic TOO tight and warped the end rib a bit, but it sprang back to position when the plastic was loosened up a bit.

Raised beds, filled with peppers, tomatoes, watermelon and luffa. These beds came from an article in the L.A. Times courtesy Morgan friend Katie Black. They worked great for her artichokes in California, and I'm singing their praises up here in Ontario! Those are another post though...

Mmmm mmmm, Ancho Chili Peppers for all!

One day's harvest. There were many like this, every five days or so as more veggies got ripe.
For some action insights, check out this video from the University of Utah, which has used simple hoophouses in a variety of weather extremes. UofUtah
No comments:
Post a Comment